一、安装依赖
安装环境:Ubuntu 16.04
1.1 g++
apt-get install g++
1.2 openssl
wget https://www.openssl.org/source/openssl-1.1.1-pre3.tar.gz
tar zxvf openssl-1.1.1-pre3.tar.gz
cd openssl-1.1.1-pre3/
./config
make
make install
1.3 zlib
wget https://sourceforge.net/projects/libpng/files/zlib/1.2.11/zlib-1.2.11.tar.gz
tar zxvf zlib-1.2.11.tar.gz
cd zlib-1.2.11/
./configure
make
make install
1.4 pcre
wget https://ftp.pcre.org/pub/pcre/pcre-8.42.tar.gz
tar zxvf pcre-8.42.tar.gz
cd pcre-8.42/
./configure
make
make install
二、安装 Nginx
2.1 下载源码并解压
wget http://nginx.org/download/nginx-1.13.10.tar.gz
tar zxvf nginx-1.13.10.tar.gz
cd nginx-1.13.10
2.2 编译安装源码
1 | ./configure \ |
如果要加入 SSL(例如开启HTTPS),在上面的编译命令最后追加:
--with-http_ssl_module
上面命令生成了Makefile文件,--prefix 后面是软件安装目录,后面的 /var/log/nginx 和 /var/temp/nginx 为日志文件夹和临时文件夹,无需修改。
注意: nginx 运行前需要 手动创建 /var/temp/nginx 文件夹!
编译安装:
make
sudo make install
执行完后 nginx 被安装在了 /usr/local/nginx 目录下:
1 | wxs@ubuntu:/usr/local$ ls |
三、解决异常
3.1 找不到 libpcre.so.1
1 | wxs@ubuntu:/usr/nginx/sbin$ ./nginx |
进入 /usr/local/lib 文件夹:
1 | wxs@ubuntu:/lib$ cd /usr/local/lib/ |
为 libz.so.1 添加软链接:
sudo ln -s /usr/local/lib/libpcre.so.1 /lib64
sudo ln -s /usr/local/lib/libpcre.so.1 /lib
3.2 不能打开日志文件 / 无法创建目录
1 | wxs@ubuntu:/usr/local/nginx/sbin$ ./nginx |
使用 root 权限或 sudo 运行即可,或者哪个目录创不了你就帮它先创了。
四、运行 Nginx
1 | wxs@ubuntu:/usr/local/nginx/sbin$ sudo ./nginx |
运行后,需要存在 master process 和 worker process 两个进程,才是正常的。
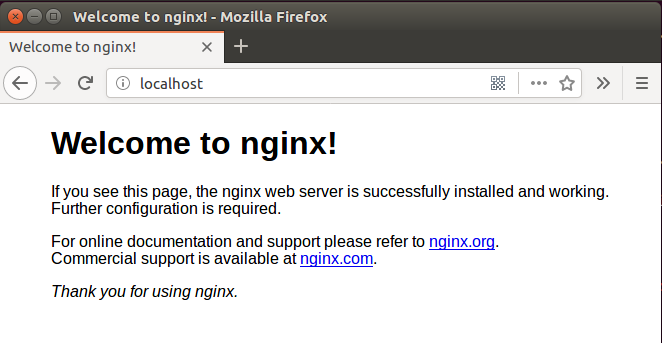
nginx 默认运行在 80 端口,打开浏览器,访问 nginx:
五、相关命令
| 名称 | 命令 |
|---|---|
| 启动 Nginx | ./nginx |
| 关闭 Nginx | ./nginx -s quit |
| 刷新 Nginx(不重启实现配置文件的更新) | ./nginx -s reload |
 wechat
- alipay